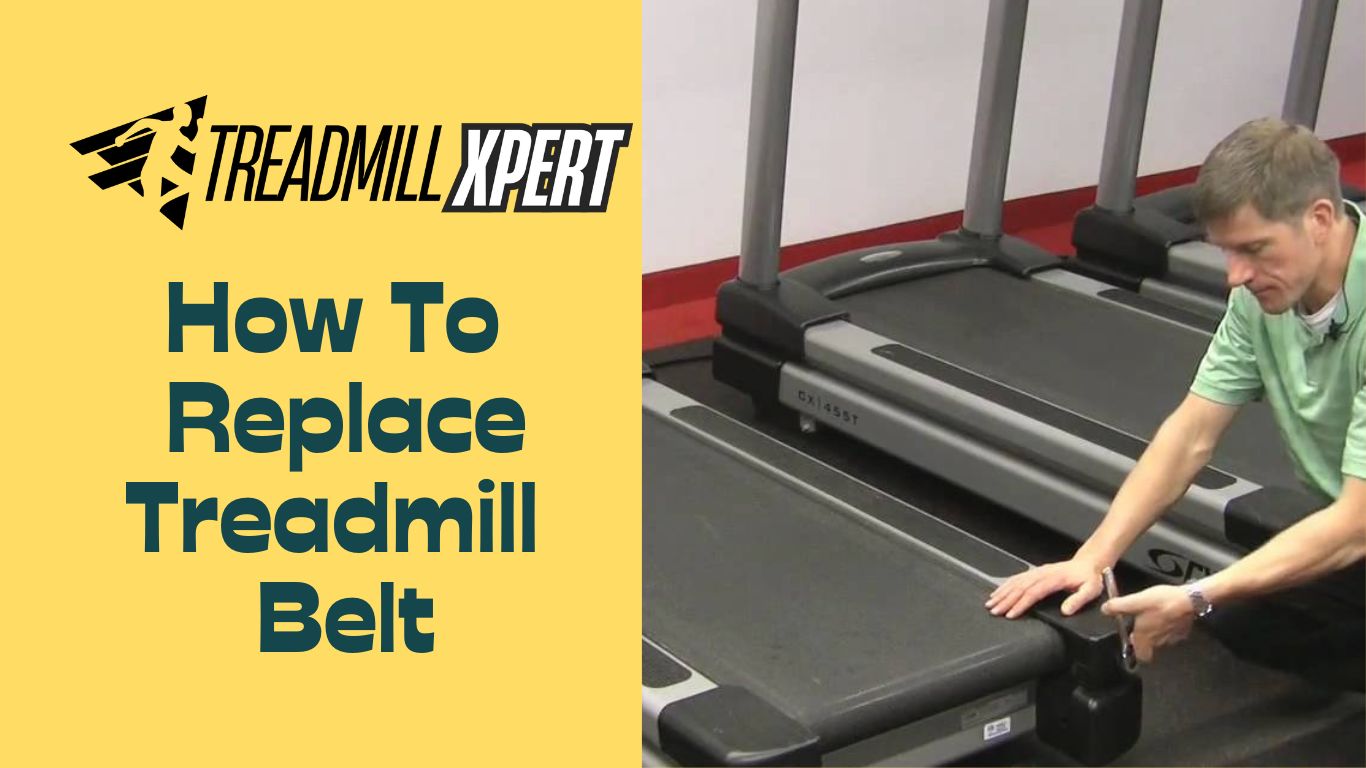
How to Replace Treadmill Belt: A Step-by-Step Guide for Long-Term Performance
Regular treadmill maintenance is essential for ensuring smooth workouts and extending your machine’s lifespan. One crucial component that requires periodic replacement is the treadmill belt—the surface you walk or run on during your workouts. If you’ve noticed slippage, noise, wear, or performance decline, it might be time to replace it. This article covers everything you need to know about how to replace treadmill belt the right way.
What Is a Treadmill Belt?
The treadmill belt is a continuous loop of durable material—often nylon with a textured underside—that moves over the deck and between the front and rear rollers. It allows users to simulate walking, jogging, or running indoors. Keeping it in top condition is vital for performance and safety.
Over time, the belt may stretch, wear out, or lose traction, causing slippage and stress on the motor. Learning how to replace treadmill belt correctly can save money and prevent long-term damage.
Signs You Need to Replace the Treadmill Belt
Before jumping into the replacement process, let’s understand when it’s necessary to replace a treadmill belt:
1. Visible Damage
If you notice cracks, fraying edges, or missing sections, these are clear signs that the belt is no longer safe to use.
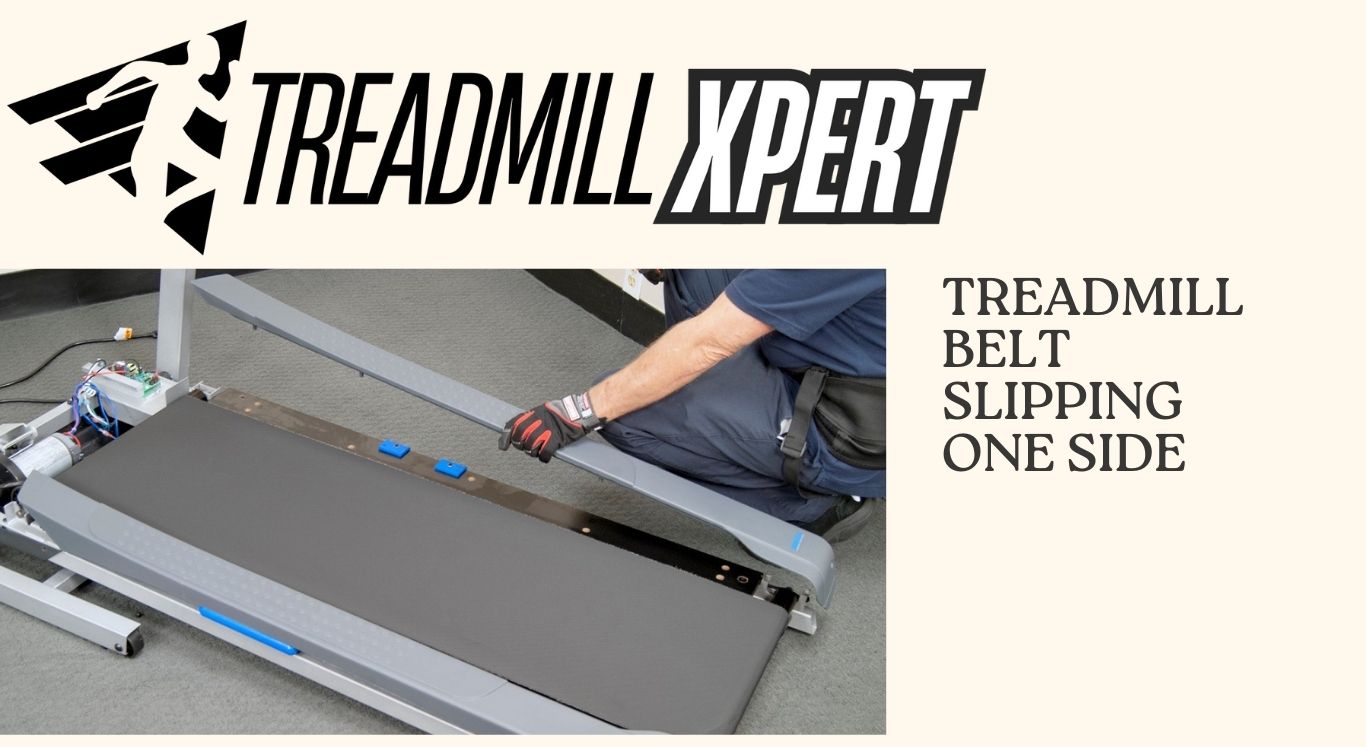
2. Slipping or Jerking
When the belt slips even after tension adjustments, it could be excessively stretched and needs replacing.
3. Unusual Noises
Squeaking, grinding, or rattling sounds during workouts may indicate a worn or misaligned belt.
4. Age
Most treadmills belts last between 3 to 5 years. If yours is older and showing signs of wear, it’s time for a replacement.
5. Worn Deck
If you observe grooves or damage on the treadmill deck, your old belt may have caused wear and tear. A new belt is essential in this case.

Tools You’ll Need to Replace a Treadmill Belt
-
Allen wrench (usually included with treadmill)
-
Pliers
-
Clean cloth
-
Marker
-
Screwdriver (if needed for your model)
-
Replacement treadmill belt
-
Lubricant (silicone-based, if required)
Step-by-Step Guide: How to Replace Treadmill Belt
Follow these steps to successfully replace your treadmill belt:
Step 1: Unplug the Treadmill
Safety first! Disconnect the treadmill from the power source before starting.
Step 2: Access the Belt Area
Raise the deck and remove the side or motor covers using a screwdriver or Allen wrench. This will give you clear access to the belt and rollers.
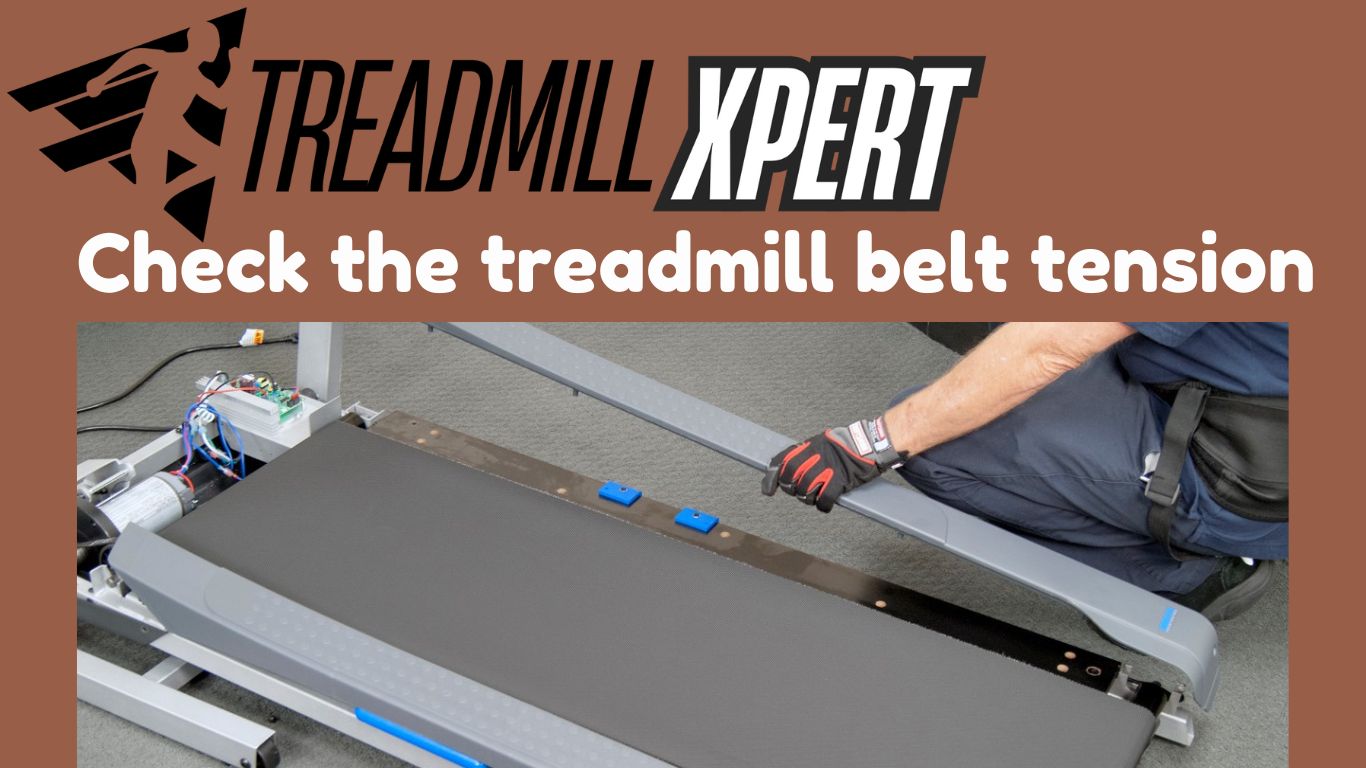
Step 3: Loosen the Rear Roller Bolts
Using the Allen wrench, loosen the bolts at the rear of the treadmill deck to reduce tension on the current belt. This allows you to slide off the old belt easily.
Step 4: Remove the Old Belt
Slide the old belt off the rollers and deck. Take note of how the belt is routed—it’s helpful when installing the new one.
Step 5: Clean the Deck
Use a clean cloth to wipe off dirt, dust, and debris from the treadmill deck. If your deck requires lubrication, now is the time to apply a silicone-based treadmill lubricant.
Step 6: Install the New Belt
Slide the new belt into place, ensuring it’s centered on the deck and wrapped around both front and rear rollers. Follow the same routing as the old belt.
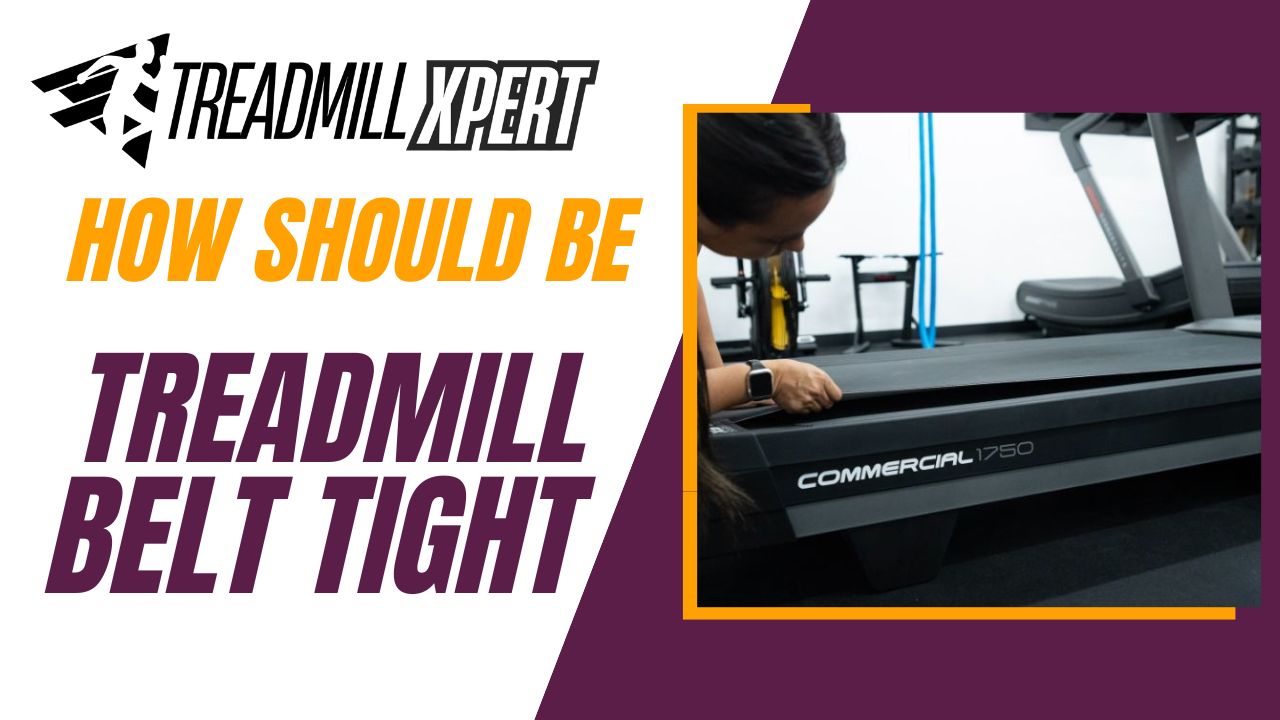
Step 7: Adjust Tension Bolts
Tighten the rear roller bolts evenly on both sides until the belt has slight tension. A good rule of thumb is that the belt should move no more than 2-3 inches when you press down in the center.
Step 8: Plug in and Test
Reconnect the power and turn the treadmill on. Walk slowly at first to ensure the belt tracks straight and doesn’t slip. Make additional adjustments to tension or alignment as needed.
Pro Tips for Replacing Treadmill Belts
-
Don’t overtighten the belt—this can damage the motor or rollers.
-
Make small, even adjustments to both sides when aligning the belt.
-
Retain your receipts and documentation in case you need to claim warranty support.
Brand-Specific Tips
Each treadmill brand has slight variations. Here’s how to replace belts for some top brands:
NordicTrack
Loosen rear roller bolts, pull the old belt off, and align the new belt along deck guides. Adjust the roller bolts for proper tension.
Pro Form
Locate tension screws, remove the worn belt, install the new one with proper tracking, and tighten tension screws gradually.
Sole
Release belt tension using adjustment bolts. Clean the deck with alcohol, install a new belt following deck marks, and re-lubricate before tightening.
Bow flex
Use a 6 mm hex wrench to remove the belt, clean the deck, align the new belt with yellow guides, and retighten rear roller bolts.
Horizon
Remove the motor cover and loosen the motor tension bolt. Replace and align the new belt, then secure the bolt evenly.
Schwinn
Remove cover panels, loosen tension screws, and replace the belt, ensuring the markings match the deck. Tighten screws evenly.
Precor
Loosen motor mount bolts, remove the old belt, clean the deck, align the new belt, and adjust tracking through motor mounts.

Why Replacing the Treadmill Belt Is Essential for Long Life
Knowing how to replace treadmill belt can prevent costly repairs and keep your treadmill functioning like new. Here’s why it matters:
-
Reduces strain on the motor and rollers
-
Prevents injury from slipping or malfunction
-
Improves workout performance and smoothness
-
Extends overall lifespan of your treadmill
-
Protects your treadmill deck from wear
Final Thoughts
Replacing a treadmill belt might seem technical, but with the right tools and clear steps, it’s manageable for most users. Whether you’re a beginner or a seasoned home gym enthusiast, following this guide on how to replace treadmill belt ensures your treadmill runs smoothly and safely for years to come.
Always refer to your treadmill’s specific user manual or contact the manufacturer for guidance if you’re unsure. With routine maintenance and timely replacements, your treadmill can remain a reliable fitness partner in your wellness journey.