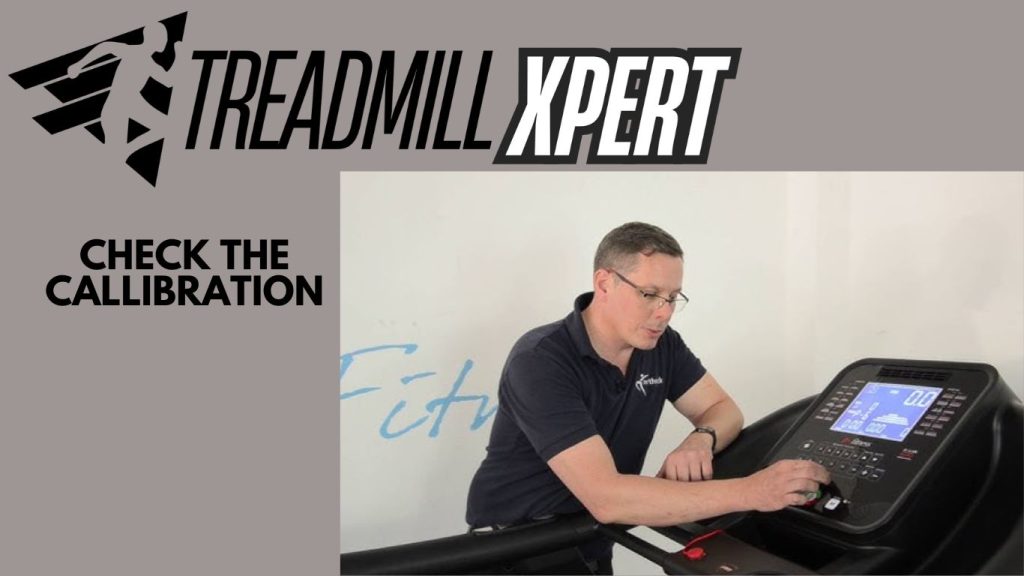
What are the steps to check the calibration?
To check the calibration of a treadmill, follow these steps: Measure the belt, set it up for testing, count revolutions, calculate actual speed, compare results, repeat at higher speeds, and consult the manual and professional service.
-
Measure the belt:
First, turn off the treadmill and measure the length of the running belt, marking a specific point on the belt. -
Set up for testing:
When turning on the treadmill, set it to 1 mph (1.6 km/h). -
Count revolutions:
Start the treadmill and count how many times the marked point passes in one minute. -
Calculate actual speed:
Multiply the belt length by revolutions per minute and convert it to miles per hour. -
Compare results:
If the calculated speed matches the display speed, check that small differences are average. -
Repeat at higher speeds:
Test at three mph and five mph for thorough checking. -
Consult manual:
If issues are found, check your treadmill’s manual for calibration instructions. -
Professional service:
Consider contacting a professional technician of treadmill if you can’t calibrate it yourself.

Why is checking the calibration of the treadmill necessary?
-
Accuracy: You should ensure the speed and distance readings are correct, which is crucial for tracking your workouts effectively.
-
Safety: Safety is necessary. A properly checked calibration reduces the risk of sudden speed changes that could cause accidents during workouts.
-
Performance: It helps maintain the treadmill’s optimal performance and efficiency. It improves the performance of the treadmill.
-
Workout effectiveness: For workout effectiveness, accurate readings allow you to train at the right intensity and track your progress correctly.
-
Longevity: Before they become significant problems, extend the life of your treadmill. Regular calibration checks help identify and address minor issues before they become substantial problems, extending the life of your treadmill.
-
Energy efficiency: A well-calibrated treadmill operates more efficiently, potentially saving energy costs.
-
Warranty compliance: To keep the warranty valid, some manufacturers require regular maintenance, including calibration checks.
-
If you notice any inconsistencies in speed or distance readings, check calibration every few months. The frequency may vary depending on how often you use the treadmill and the manufacturer’s guidelines.
Materials used to check the calibration:
To check the calibration of a treadmill, the following materials or tools may be used:
-
Measuring tape or ruler: Used to measure the length of the treadmill belt accurately.
-
Stopwatch or timer: To time the treadmill’s revolutions and calculate speed.
-
Chalk or tape: Used to mark a specific point on the belt for accurate measurement.
-
Calculator: For performing the necessary calculations to determine the actual speed.
-
Multimeter (optional): If checking electrical components, a multimeter may be used to test motor function or wiring.
-
Treadmill user manual: Provides specific calibration instructions for the model you are working with.
-
Wrenches or screwdrivers (if adjustments are needed): For making any necessary mechanical adjustments to the treadmill.The materials used to check the calibration include the User manual, Treadmill lubricant, Allen wrench or hex key, Phillips head screwdriver, Stopwatch or smartphone timer, Tape measure, Level, Safety key, Cleaning supplies, Notepad, and pen.
User manual: Check the calibration, as it is essential for worker-specific model instructions.
Treadmill lubricant: Check the calibration. Often silicone-based lubricant should be used for belt maintenance.
An Allen wrench or hex key is necessary to adjust the walking belt.
A Phillips head screwdriver may be needed to access the treadmill’s control panels.
Stopwatch or smartphone timer: For accurately timing belt revolutions.
Tape measure: Tape measure is used to check belt positioning and length.
Level: It is used to ensure the treadmill is on a flat surface.
Safety key: This is essential for operating most treadmills.
Cleaning supplies: Soft cloth and mild cleaner for general maintenance and cleaning.
Notepad and pen: Measurements and settings should be noted for recording.
The exact tools needed can vary depending on your treadmill model. You can consult the user manual for specific requirements and procedures.

What are the procedures for the treadmill’s calibration?
I’ll provide the calibration procedure again, with more apparent steps like Preparation, Enter calibration mode, Calibrate speed, Calibrate incline, Calibrate distance, Test and adjust, Save new settings, and Final check the calibration.
Preparation:
In preparation, place the treadmill on a level surface and clean and lubricate the belt if needed.
Enter calibration mode:
You should check the manual for specific button combinations and powering on; it often involves holding certain buttons.
Calibrate speed:
You should start at a low speed (usually one mph) and time a set number of belt revolutions if needed. Then, adjust the speed settings.
Calibrate incline (if applicable):
You should set it to 0%, then maximum incline, and verify accuracy at different levels.
Calibrate distance:
You should run for a set distance and compare the treadmill reading to the actual distance.
Test and adjust:
Check the calibration for the test, run at various speeds and inclines, and make minor adjustments as needed.
Save new settings:
Exit calibration mode and save according to manual instructions.
Final check:
Check the calibration. Perform a short workout to ensure correct operation and final check.
Example for a specific brand (NordicTrack treadmill):
Preparation:
Check the calibration, unplug the treadmill, and remove the safety key.
Enter calibration mode:
Check the calibration, insert the safety key, and hold down the “Stop” and “Enter” buttons simultaneously.
While holding these buttons, insert the power cord. The console should display “CNFG” or “CONFG.”
Calibrate speed:
Press “Enter” until you see “Speed 0.” Then, walk on the treadmill at three mph for about 30 seconds. If your speed feels off, use “Speed Up” or “Speed Down” to adjust.
Calibrate incline:
You can press “Enter” until you see “Incl 0.”
If the speed feels off, use exit and save.
Exit and save:
At last, press “Stop” to save settings and exit calibration mode.
Test:
You can run the treadmill at various speeds and inclines to ensure accuracy.
What is checking the calibration is necessary?
Yes, checking the calibration of a treadmill is necessary for several important reasons: Accuracy of speed and distance measurements, Safety, and longevity of the workout machine.
Accuracy of speed and distance measurements:
You ensure you’re running at the actual speed displayed and help track your accurate distance for training purposes.
Safety:
Incorrectly calibrated speed can be dangerous, especially for interval training, and ensures the belt moves smoothly and consistently.
Workout Effectiveness:
Accurate calibration means your workouts match your intended intensity and help you achieve your fitness goals more effectively.
Machine Longevity:
Check the calibration reduces wear and tear on the motor and belt and helps prevent mechanical issues.
